


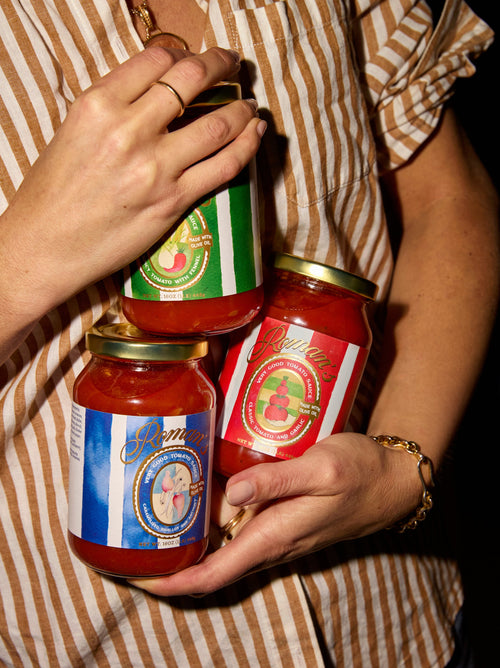
 Made with Spicy Tomato with Fennel
Great Chicken Parmesan
Serves 4

This chicken parmesan is on a sheet pan, but I’m not calling it Sheet Pan Chicken Parmesan because I don’t believe that there’s any other way one should make Chicken Parmesan– feels redundant. The long and short of it is that much like my Little Eggplant Parm, my core issue with the genre of food known as “Parmesan” is that it is too wet, too saucy, too insulting to the labor it takes to make something crispy to start with. Of course, I understand that “wet” and “saucy” are often one's favorite parts about Parmesan– to that I say: We are not the same.
Ingredients
Preparation
More recipes with Spicy Tomato with Fennel sauce

A Very Good Lasagna
For me, a very good lasagna isn’t overly cheesy or too saucy or insanely indulgent—there should be a proper ratio of pasta:sauce:cheese so that each slice feels satisfying but also balanced. While I do love a creamy lasagna, I find bechamels a bit unnecessary and instead use heavy cream in conjunction with the ricotta and mozzarella to keep things nice and saucy. So, here it is, a recipe for a Very Good Lasagna. Nothing insane, no sneaky anchovies (just kidding—there are anchovies if you want) or expensive, hard-to-find cheeses. Just some good ol’ basic stuff layered in a baking dish and baked until melty, bubbly, and satisfying as well. I do have two pieces of advice: First, don’t skip the two-bake process—the initial bake (foil on!) is the shorter of the two, only meant to melt the cheese and warm the sauce through, and the second bake (foil off!) is where things get good, and by good I mean golden brown, crispy-edged, and impossibly delicious. During this step the sauce will also continue to cook the al dente noodles, which makes for deeply seasoned pasta and eliminates any excess water, preventing a soggy, runny lasagna. Second, when you think you’ve baked it as long as you can, maybe bake it a little longer—the browner the better here.

Goodbye Meatballs
Hate to tell you, there isn’t really a “secret” to the meatballs being great. “Secrets” aren’t really my thing (unless it’s using mayonnaise in cornbread, which was met with mixed results except by everyone who made it who said it was AMAZING), but I will say there are two important steps that I feel like make a huge difference: 1. Letting the ricotta/egg/bread crumb mixture soak for at least 10 minutes. This is essentially the “soak milk in bread” step you’ll find in many meatball recipes, but I don’t like soaking bread in milk. Soaking bread in CHEESE though, yeah, I am FOR that. 2. Searing the meatballs in the pot, *then* making the sauce. I have done them on a sheet pan, and they are fine. They are not bad at all. But they are not brown. I don’t know who needs to hear this, but putting your meatballs on a sheet tray in the oven to “brown” them will steam and potentially overcook by the time they look anything close to “brown”. I have tested them in multiple ovens in different homes, and either coincidentally ALL the ovens absolutely suck, or this method isn’t great (unless you’re doing meatballs for a LOT of people). Doing them in a pot is more work, sure, but I do think you reap the rewards in the form of fat and juicy bits and browned, delicious meat that all flavor your tomato sauce as you finish gently cooking those meatballs.

Gorgeous Chili (The Short Way)
Chili means many different things depending on where you are. At its most basic, you can expect meat cooked until tender in some sort of spiced, likely tomato-y sauce. This version uses ground beef (or turkey or pork), is heavy on the tomato, is well spiced but will not necessarily light your mouth on fire, and a good dose of canned bean (yes, there are beans in this chili). While it cooks in less than half the time as The Long Version, for some, even an hour is too long to wait for chili. In that case, you can find a different recipe (not by me), but I think chili, almost by definition, deserves a bit of time in the pot (even if it is The Short Version). I think of The Short Version as something you might spoon over a bowl of rice or a hot dog, maybe a split bag of Frito’s. The Long Version I think of as something for a dinner party, to set out with tiny bowls of toppings. Both are great for eating out of a mug as a midday snack.

